


Introduction
In this article, you will write a NodeJS script to interact with a Lightning node to send and receive Bitcoin programmatically.
If you don’t already have a node up and running Voltage’s hosted node offering lets you spin up a node in just a few minutes without dealing with infrastructure yourself.
Prerequisites:
- A mainnet LND lightning node with at least one funded channel
- Make sure to have at least one channel with a well-connected node such as Bitrefill routing or one of the LNBIG nodes.
- A lightning wallet
- A development environment with NodeJS installed
Step 1 - Testing the Lightning Node
First, check sanity to see if your lightning node can generate and pay invoices. Note that the screenshots in this article come from the Thunderhub and Muun Wallet GUIs, but feel free to use a dashboard and wallet of your choice.
Let’s generate a 5,000 sat invoice from our node and pay it with our wallet:
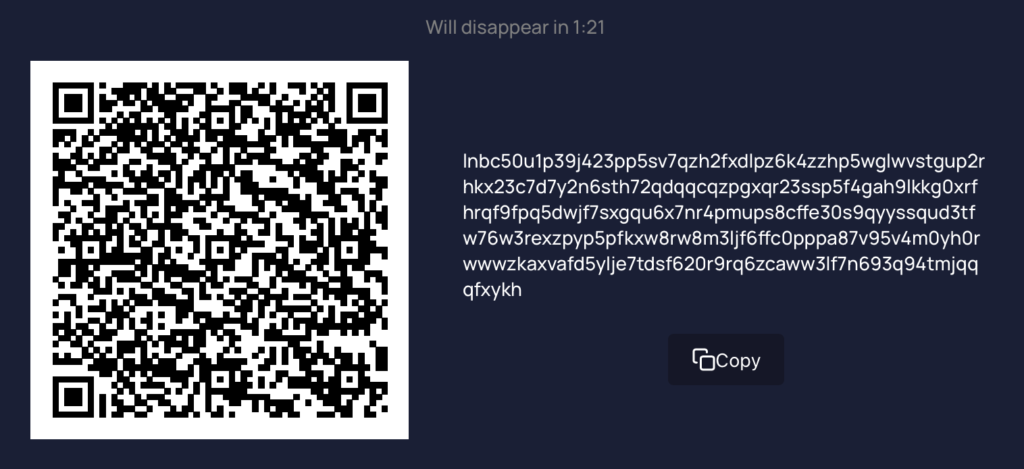
Create an invoice with your wallet and pay it with your node. Once you’re satisfied that payments are succeeding consistently, continue to the next step to connect to your node.
Step 2 - Connecting to your node
Now that you know that your node is working as expected, set up a node project with npm:
$ mkdir lightning-example
$ cd lightning-example
$ npm init -y
$ npm i axios
To connect to your node, you will need its URL and its admin.macaroon. The URL is where you will point your requests to and the admin.macaroon will be passed in the header of the requests to authenticate the requests. Both are found in the “Connect” tab in the Voltage dashboard if you're using Voltage.
Save the admin.macroon in the lightning-example directory, create a file called index.js and paste the following to read the macaroon:
const fs = require('fs')
const macaroon = fs.readFileSync('./admin.macaroon').toString('hex')
To save having to duplicating the node’s URL each request, create an axios instance that can be reused for multiple requests:
const axios = require('axios')
const https = require('https')
const myNode = axios.create({
  baseURL: 'https://<your_node_URL>.m.voltageapp.io:8080',
  httpsAgent: new https.Agent({
    rejectUnauthorized: false
  }),
  headers: { 'Grpc-Metadata-macaroon': macaroon }
})
Now write the request to call the getinfo endpoint:
const getInfo = async () => {
  try {
    let res = await myNode.get('/v1/getinfo')
    return res
  } catch(err) {
    console.error(err.repsonse)
  }
}

const run = async () => {
  const res = await getInfo()
  console.log(res.data)
}

run()
Running it from the command line should give the result:
$ node index.js
{
  version: '0.13.4-beta commit=v0.13.4-beta.f1'....
}
Great, now you have established a connection to your node! If you’re getting a 403 error, check that your IP is whitelisted (this is found under Voltage’s “Settings” panel).
const payInvoice = async (invoice) => {
  try {
    let res = await myNode.post('/v2/router/send', {
      payment_request: invoice,
      timeout_seconds: 60,
      fee_limit_sat: 100
    })
    return res
  } catch (err) {
    console.error(err.response)
  }
}
Note that the timeout and fee limit have to be set otherwise they will default to 0 which will result in failed payments. It’s also important to note that the terms payment request and invoice are interchangeable terms but LND’s REST API refers to them as payment requests.
Adjust the run function to read the invoice from the command line:
const run = async () => {
  const invoice = process.argv[2]
  const res = await payInvoice(invoice)
  console.log(res.data)
}
run()
Create an invoice from your wallet and paste it into your terminal:
$ node index.js lnbc24900n1p39jev5pp53fd3yg3aqzrvh4c6zjy97pzmztx2tcz00xs5...A successful payment should give the following result:
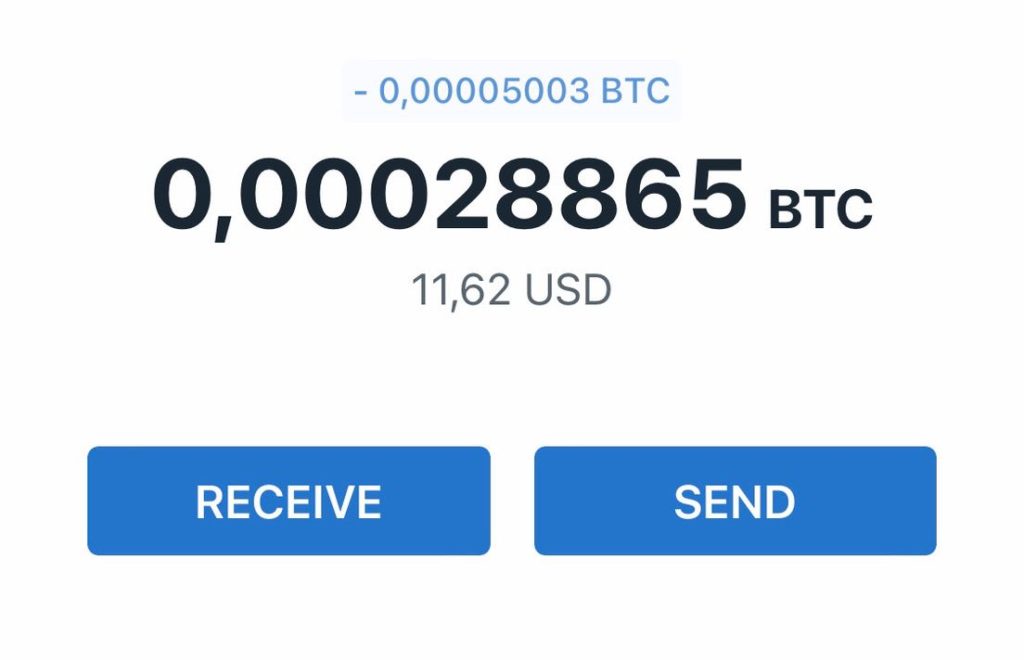
{"result":{"payment_hash":"8a5b12223d0086cbd71a148..."}Keep your wallet app open and it should inform you of the payment being received:
You’ve now paid an invoice from your node!
Step 4 - Generating invoices and checking for settlement
The last step will be to generate invoices and check that they are settled.
Creating invoices is fairly straightforward:
const createInvoice = async (amountSatoshis) => {
  try {
    let res = await myNode.post('/v1/invoices', {
      value: amountSatoshis
    })
    return res
  } catch (err) {
  console.error(err.response)
  }
}
Update the run() function:
const run = async () => {
const res = await createInvoice(5000)
console.log(res.data)
}
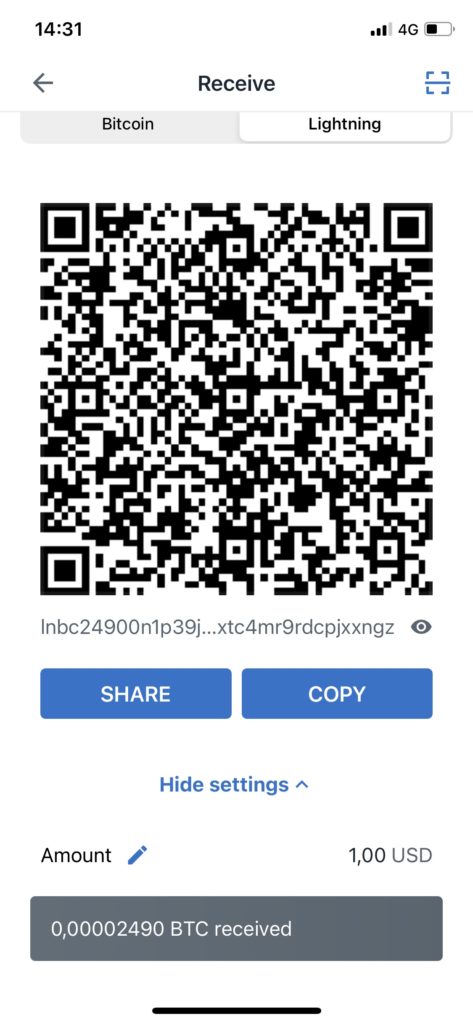
run()We now have an invoice that should be payable with your wallet:
$ node server.js
{
  r_hash: 'p89HSZZXUuviPvZTjYvFhFtCq5KoIJv/KyOqCoT7c7k=',
  payment_request: 'lnbc50u1p39j78qpp55l85wjvk2afwhc377efcmz79s3d592uj4qsfhletyw4q4p8mwwusdqqcqzpgxqyz5vqsp5qpdl5yncsjy63qmnmyf00sfcynfwf6xdjl0zapgk7awh8v58de0s9qyyssqfeg9yqu8t3xl0nk3yctntrwrtg3t46n7smf3amz40vsa3mpw8faqg3mqnkdgu9fglskpgp38yk3m9d5usc0wss7eptt6xls5cpf4q9sqfydmjw',
  add_index: '210',
  payment_addr: 'AFv6EniEiaiDc9kS98E4JNLk6M2X3i6FFvddc7KHbl8='
}
Note that the r_hash will be used to check the invoice status later.
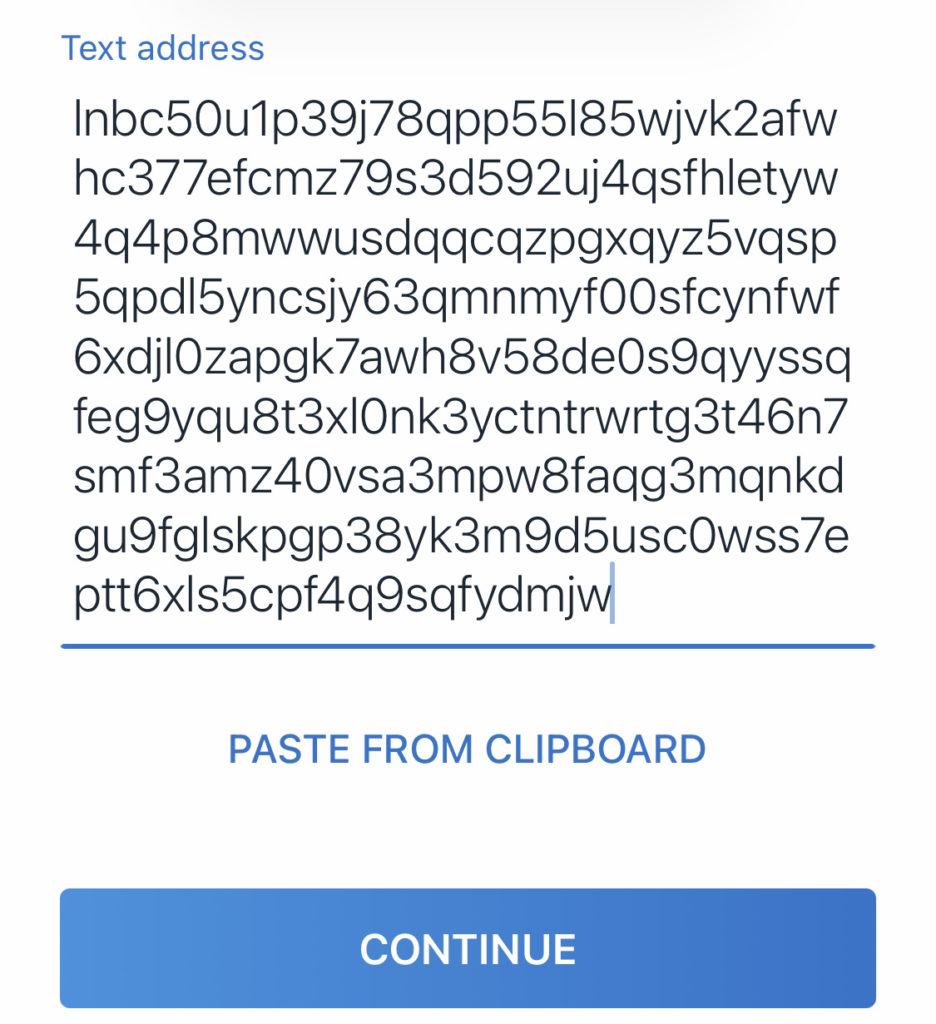
Paste the payment_request in your wallet and pay it:
When developing an application, the application needs to check on its own end that the invoice has been settled. This can be done by calling the following invoice endpoint and parsing its status:
const checkSettlement = async (invoice) => {
  try {
    const buffer = Buffer.from(invoice, 'base64')
    let res = await myNode.get(`/v1/invoice/${buffer.toString('hex')}`)
    return res
  } catch (err) {
    console.log(err.response)
  }
Finally, update the run function:
const run = async () => {
  const invoice = process.argv[2]
  const res = await checkSettlement(invoice)
  console.log(res.data.settled)
}
run()
Now paste in the r_hash associated with the paid invoice:
$ node index.js p89HSZZXUuviPvZTjYvFhFtCq5KoIJv/KyOqCoT7c7k
true
As expected, the invoice is settled!
Conclusion
In this tutorial, you created a NodeJS script to interact with your lightning node. You could check for the node’s status, send and receive payments and check the settlement status of the payments.
These functions cover the most fundamental use cases when dealing with lightning be used as the building blocks for creating a lightning-based service.
Resources
Start building on Voltage today!


